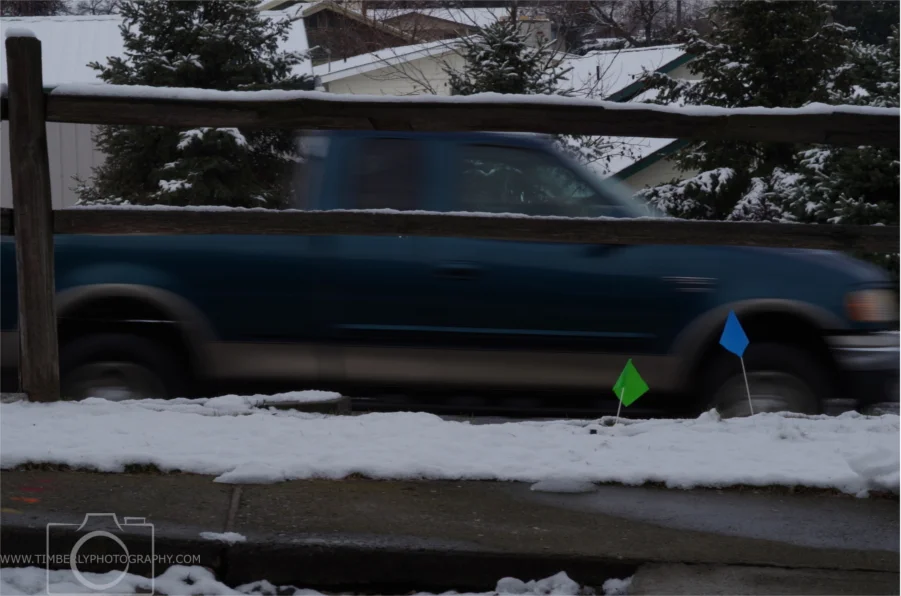
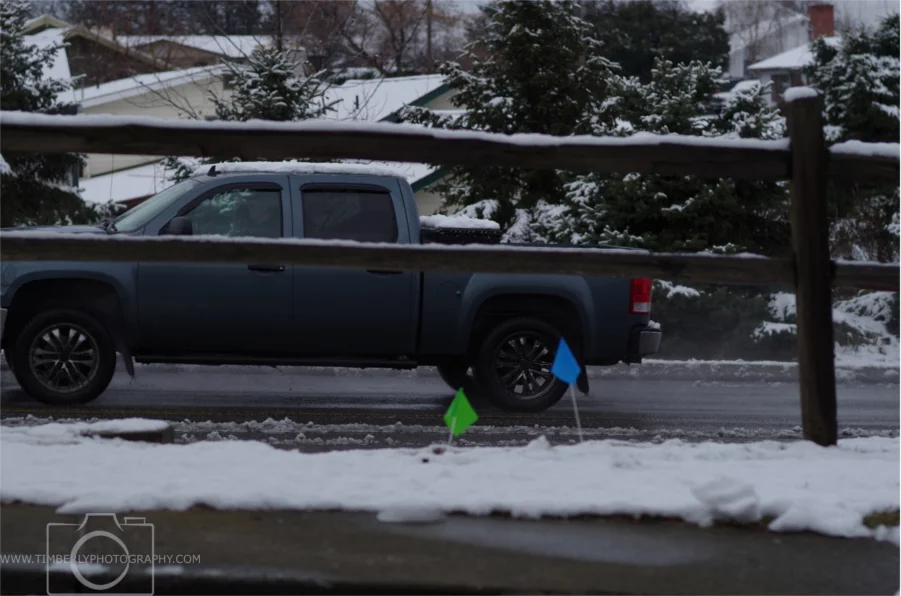
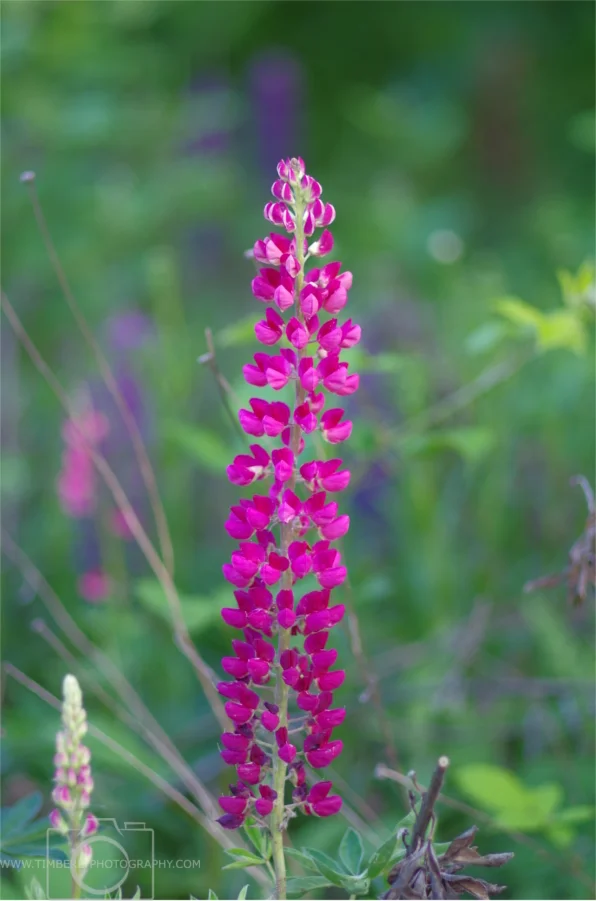
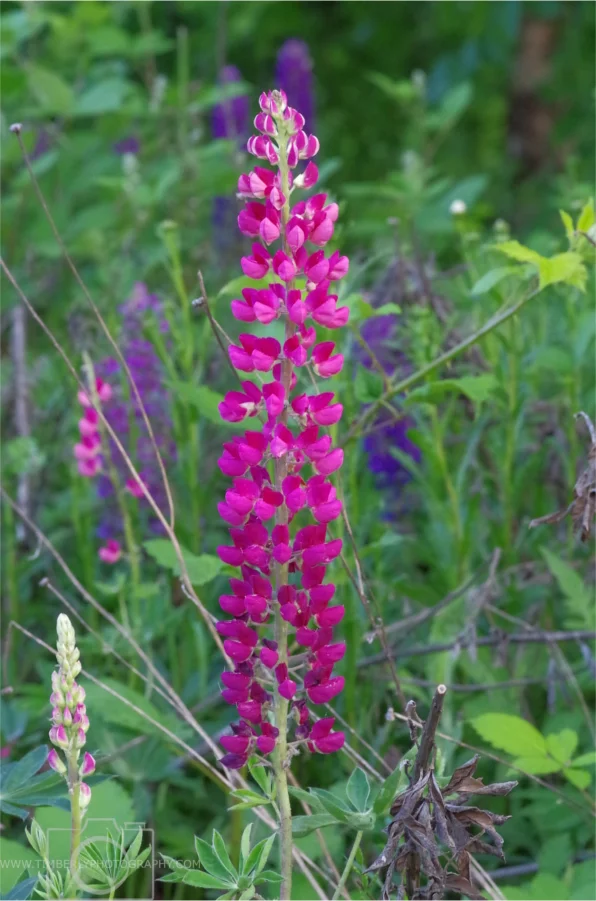
You just got a fancy new crop sensor DSLR, mirrorless, or bridge camera and now you are ready to take awesome pictures of your child's next athletic event. As long as you are aware of the limitations or your camera going in, there is no reason why you can't get those great pictures you desire. Before we begin, I want to say that all of these cameras are excellent choices for the amateur (and even professional) photographer when expectations are managed properly. Without getting too technical, the sensors on these cameras are much larger than those available on point and shoot cameras and will produce a higher image quality. This allows you to take pictures in lower light conditions without increasing the ISO to an unusable level. In this post, we will briefly discuss the components of the exposure triangle and how to manipulate them to get the best image possible. For a more in depth explanation, check out Digital Photography School. We will not address full frame DSLRs, as they are not generally considered an entry level camera. (Click on any image in this post for an enlargement. Hover over the enlargement for additional discussion of the parameter we are focusing on.)
First, let's talk about shutter speed. Shutter speed is a measurement of how fast your camera's shutter opens and closes. It is measured in fractions of a second, so a slow shutter speed would be 1/6 sec and a fast shutter speed would be 1/1000 sec. When photographing an athletic event, it is important to "freeze the action" so your pictures aren't blurry. To do this, you need to increase your shutter speed to something greater than 1/500 sec or 1/1000 sec - or even higher for really fast moving subjects. When you increase the shutter speed, light reaches the sensor for a shorter period of time and actions appear to freeze. In bright daylight, this probably won't noticeably affect your image quality. But what if you are indoors or the game happens at night or in the rain?
There are two other variables that affect the amount of light reaching the sensor: aperture and ISO. When increasing the shutter speed (and decreasing the amount of light reaching your sensor), you need to adjust the ISO or aperture to compensate. In the pictures above, the aperture was adjusted with the shutter speed to get a correct exposure. When you put your camera in "sports" or "action" auto mode, your camera sets a high shutter speed, then adjusts the aperture and ISO based on the lighting conditions. If your camera allows you to shoot in manual or shutter-aperture priority (TAv - Time Aperture value) modes, you can manually adjust these settings. Manual mode lets you set all three parameters, while TAv mode allows you to adjust the aperture and shutter speed and the camera will take care of the ISO setting.
Let's tackle ISO next. In digital photography, ISO is a measure of how sensitive your sensor is to light. A lower number corresponds to finer grain and a less "noisy" image. When your ISO is raised very high - especially in low light conditions - your image will have noticeable noise. It is important to see how your camera performs at different ISO levels and lighting conditions before you are at the big game. By testing your camera beforehand, you can determine at what point the ISO (and resulting grain) is too high for your taste. Some cameras will allow you to adjust the ISO range that is used when Auto ISO is set. So you can change the range from ISO 100-12800 to ISO 100-3200 - or whatever is the highest ISO setting you are happy with. Check your camera's manual.
Another way to reduce noise while shooting with a high ISO is to capture images in the camera’s RAW format. Utilizing RAW image capture gives you many more options to make corrections to your image - including removing noise - than capturing images in jpg format (even when using high quality jpg capture). RAW photos will need to be “developed” within a RAW editing program (such as Lightroom, DXO Photolab, RawTherapee, or a number of others) before the photo can be viewed by most applications or printed. Developing RAW images won’t be covered in this post (since it is such a large topic and can be program specific), but there are many tutorials available online.
Keep in mind that a noisy image is better than a blurry image. Using photo editing software, you can reduce the noise, but you can't make a blurry image sharp.
The last setting you can adjust is aperture. Aperture is the opening that allows light to fall on your camera's sensor and is expressed as a fraction (f/number). So a large aperture (f/4) lets in more light than a small aperture (f/22). In addition to moderating the amount of light that reaches the sensor, the aperture affects the depth of field in your images. When shooting "wide open" (large aperture), your photo will have a very narrow depth of field. So everything in the same plane as your focal point is sharp and other areas that are in different plans will be blurry. Using a smaller aperture increases your depth of field and brings objects on several planes into focus.
Okay, now that you know the basics of the exposure triangle, what do you do? If you are just beginning and don't feel comfortable going into full manual mode, then shutter priority mode (S or Tv) is a good option. We know that your shutter speed needs to be above 1/500 sec, so you can set that and let your camera take care of the rest. But in very low light conditions, such as night games or poorly lit indoor events, you may end up with some disappointing images.
Using full manual mode can be intimidating when you are first starting out, but you only learn by practicing. Once you know the shutter speed you need to freeze the action of your subject, you really only have 2 parameters you need to adjust. Set your aperture as low as you can, while still keeping your subject in focus. If you are using the kit lens that came with your camera (usually in the range of 50-200mm f/4-5.6) you don't have to worry that your aperture will be so low that you won't get much of the action in focus. Now adjust your ISO to get a proper exposure. Most cameras will warn you if the exposure is not "correct" before you make the photo, but you can always check the result on your LCD. If the image is too dark, then increase your ISO or use a larger aperture. If the image is too light, you can increase the shutter speed, decrease the ISO, or use a smaller aperture.
This post is about taking photos of your child's athletic event, right? So let's take a look at some images that were taken in difficult lighting conditions with a kit lens on a crop sensor DSLR. All of the images were shot using an ISO of 3200 or higher. The first half (basketball images) was photographed utilizing RAW image capture, while the second half (football images) was shot using jpg image capture. Notice how much more noise is present in the second half of these images? Bonus Tip: When taking pictures at an outdoor night game, try to capture the action that is directly under the lights. This will make it easier for your camera's auto focus and there is more light available so your image should have less noise.
Now that you have the knowledge to capture awesome action photos at your child's next athletic event, share your results in the comments below. And, as always, ask questions in the comments or contact me directly.


